Wednesday, June 20, 2012

Slow Smoked Brisket


imageLet's face it, my husband is a spoiled, spoiled man.  Believe me he knows it!  How many wives would prepare a smoked a brisket for Father's Day?  That's right kids, I didn't take him out to a restaurant to enjoy brisket or grill hot dogs or take the other easy way by slapping this baby in the oven, No I did it the real boss, hoss way over coals in my trusty little Weber grill. 

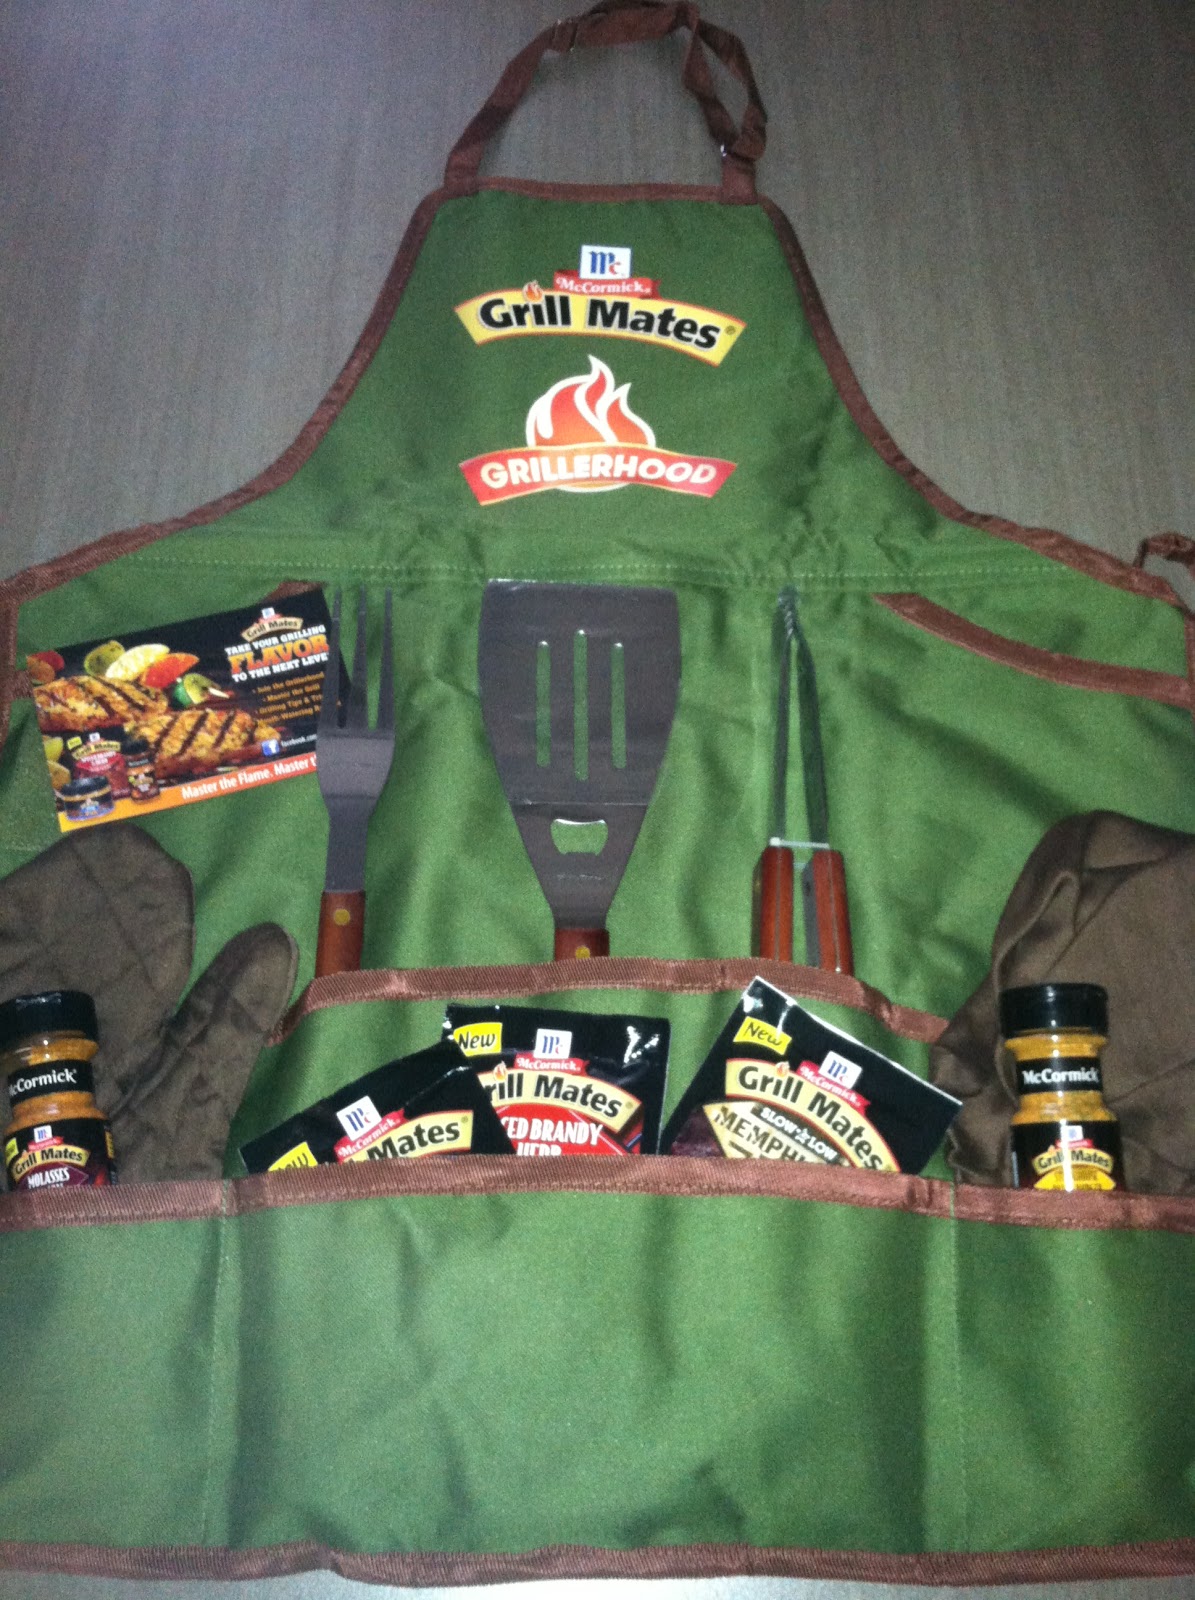
Don't be scared, because this was so easy thanks to McCormick Grill Mates Products.  See this little envelope of "Smokin' Texas BBQ" rub?  It's really a magical envelope of brisket love.  Because of this little envelope, I was able to spend an afternoon leisurely multi-tasking...smoking my brisket and spending time with my husband and children in the backyard on a gorgeous Sunday afternoon.  And then, oh yeah baby, enjoy a fabulous brisket dinner with literally no clean-up!

First, before we get started, the first rule I learned when I became interested in learning to grill was grill maintenance and safety.  The one sure way to spoil any meal is to start off with a dirty and ill-placed grill.

If you are a seasoned master of the grill or are interested in grilling, place your grill in an area away from your house or out buildings, away from children play areas and an area free of clutter.  

Always start off with a clean grill.  Dirty grills can cause fires and not only ruin the taste of your food, but can make you, your family and your guests extremely ill.  

So Rule Number One, place your grill in an area clear from hazards and keep your grill C-L-E-A-N!

1 - 3.75 lb. beef brisket, trimmed.
1   envelope of McCormick Grill Mates Smokin' Texas BBQ rub
1   high-sided foil pan large enough to accommodate the brisket
Aluminum foil
Several handfuls of mesquite wood chips soaked in water for several hours


Rub in the McCormick Grill Mates Smokin' Texas rub on all sides of the brisket.  Place the seasoned brisket in the foil pan and tightly cover with a sheet of aluminum foil.  Refrigerate overnight.  Keep the brisket refrigerated until you are ready to place it on the grill.

In order to smoke/cook the brisket low and slow, it should be placed on the grill grate cold and not at room temperature.

Light the charcoal and keep the coals to one side of the grill and place the brisket on the opposite side of the grill to cook it slowly over indirect heat. 

Once the coals are lit, sprinkle some of the mesquite chips over the coals.  Ideally, I was trying to keep the temperature on the grill between 275 degrees F and 300 degrees F, which for the most part I was able to maintain.  In the very beginning, temperature on the grill spiked at 350 degrees F.  After closing off one of the vents a little to slow down how fast the fire was burning the coals, and adding a small pan of water on the grill, the temperature gradually dropped and I was able to maintain a temperature of 280 degrees F the remainder of the cooking time.

Was the foil pan for later use.

I checked on the brisket after one hour to check the grill temperature and to add more wood chips.  After 2 hours, I turned the brisket and continued to cook it for 2 more hours.  After the 4th hour, the internal temperature on an instant read thermometer read 160 degrees F which is what I wanted. 


The brisket was then placed in back in the clean foil pan along with the small pan of water and tightly covered with aluminum foil.  I add more lit coals and wood chips as the temperature on the grill was beginning to drop and continued cooking the brisket for another 1-1/2 hours. 
After removing the brisket from the grill, I placed the pan on a cooling rack and left it covered to allow it to rest for one more hour. 


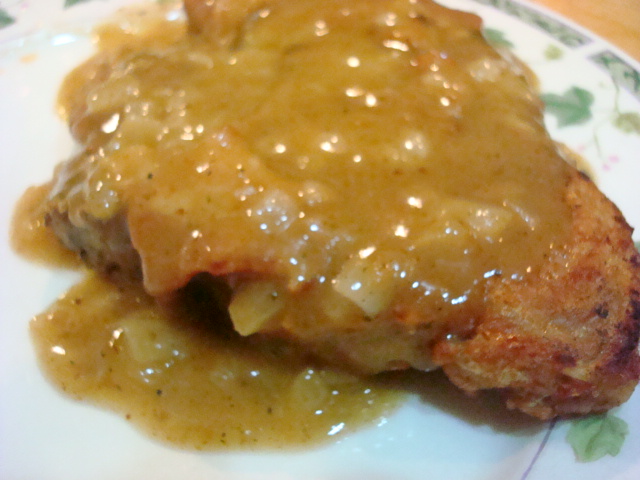
This brisket cut like butter, was so moist and flavorful.  The McCormick Grill Mates Smokin' Texas BBQ rub was sensational!

So don't forget to stop by McCormick's Grillerhood and become a part of the a growing grilling social network!

Share with all of us your number one "Rule of Grilling"! 

Disclosure - I have been compensated by McCormick in all relevant communication mediums, including without limitations on Facebook, Twitter, any blog posts.


Pin It

Monday, June 18, 2012

Chicken Taquitos - Addictive!


When I'm in the mood for Tex-Mex that really rocks, I know who to go to, Guy Fieri.  I adapted this recipe slightly and boy, oh boy, we could not get enough of these taquitos!
The only change I made was I used flour tortillas instead of corn; it's a preference thing.  Corn tortillas break and fall apart when filling them with with moist ingredients.d taste of flour tortillas. 

Since these were so filling, we had quite a few leftover taquitos which I wrapped individually in foil and placed them all in a re-sealable plastic bag and stored them in the freezer.  I recommend re-heating them in a toaster oven or conventional oven at 350 F for about 15 minutes, then open the foil and continue heating them for aother 5 minutes to crisp up the tortilla.  They will taste as wonderful as they did the day you made them.

4 tablespoons olive oil
1 large red onion, diced
1 red bell pepper, julienned
2 jalapenos, diced and seeded
2 medium red potatoes, diced into 1/2-inch cubes
2 tablespoons minced garlic
2 lbs. boneless, skinless chicken breasts cut into strips or you can use chicken strips
1 tablespoon dried oregano
1 teaspoon ground cumin
Salt and pepper
3 ounces your favorite tequila
1 lime, juiced
2 tablespoons minced fresh cilantro leaves
24 flour (corn) tortillas
Wooden toothpicks
Canola Oil

8 ounces of your favorite Salsa
1-1/2 tablespoons sour cream
1/2 cup crumbled queso fresco

Pre-heat the oil over medium-high heat in a medium skillet.  Once the oil is beginning to ripple, add  the onions, red bell peppers, jalapeno pepper, potatoes, garlic and chicken. Saute until chicken is cooked and vegetables are soft, about 5 to 7 minutes. Add the oregano and cumin and season with salt and pepper, to taste.

Add the tequila and the lime juice to the skillet to de-glaze.  Let it simmer until liquid is almost evaporated.

Add the 1/2 inch Canola oil to a large cast iron skillet and heat to 350 degrees F.

Remove the skillet from the heat and shred the chicken using 2 forks.  Allow to cool a bit and then stir in the cilantro.

Wrap in damp paper towel and microwave for 1-1/2 minutes to soften up the tortillas a bit. Place about 2 tablespoons of chicken mixture on a tortilla, roll tightly and close.  Secure with a wooden toothpick.

Carefully add the taquitos to the hot oil, seam down. Cook for approximately 2 minutes or until golden brown and turn to other side.

Remove and drain on paper towel lined platter. Remove toothpicks and serve with guacamole or salsa.


Fold the sour cream into salsa to thoroughly combine. Spoon a a little salsa-mole over your piping hot taquitos and garnish with a few crumbles of  queso fresco.


Pin It

Friday, June 15, 2012

Smoky Mountain Shrimp and Pasta Salad

This has to be one of the best summertime pasta salads!  It does not contain mayonnaise and it's not oily. 

This pasta salad has a fresh clean taste and is perfect for picnics and camping trips.  We even took it with us this past weekend for a day of fishing and tubing on Douglas Lake.


1/2 half each red and yellow bell peppers, diced
2 shallots or 1 small red onion, diced
3 garlic cloves, thinly sliced, divided
6 tablespoons olive oil
Kosher salt
Freshly ground pepper
2 tablespoons white Balsamic vinegar
2 teaspoons smoked paprika
1 lb. 26/30 shrimp, peeled and deveined
Non-stick Cooking Spray
3 green onions, thinly sliced
8 ounces rotini pasta, cooked al dente
2 tablespoons chopped flat-leaf parsley

Cook pasta to al dente, drain cover and set aside.

Heat grill to medium-high.

Combine the chopped bell peppers, onion, 2 of the sliced garlic cloves in a medium bowl.  Drizzle about 4 tablespoons of the olive oil over the peppers and onions.  Season with salt and pepper to taste.  Fold all together to thoroughly blend.. Set aside.

In another medium bowl, whisk together the vinegar, the smoked paprika and 2 tablespoons of olive oil. Remove half of the dressing from the bowl and set aside.  Add the shrimp to the remaining dressing and toss to combine.  Cover bowl with plastic wrap and refrigerate for 30 minutes.

Place grill skillet with small holes or a mesh bowl made for the grill on the pre-heated grill.  Spray the inside of the skillet or bowl with the non-stick cooking spray and allow to preheat on the grill for about 5 minutes. Place the bell pepper/onion mixture in the pan and cook, stirring occasionally, for about 10 minutes.  then add the sliced green onions and continue cooking for another 5 minutes. Transfer to a large bowl and set aside.
Place a grill pan back on the grill and spray again with non-stick cooking spray and allow to preheat for another 5 minutes. Add the shrimp to the pan and cook for about 5 to 7  minutes, turning as little as possible to achieve a nice sear on the shrimp. Once the shrimp have turned pink remove from grill and add to the bowl with the reserved pepper and onions.

Add the pasta and parsley to the bowl and gently toss to combine.  Drizzle the reserved dressing over the contents in the bowl and toss again to coat the pasta and shrimp.

This dish can be served warm or you can cover and refrigerate until you're ready to serve.


Pin It

Wednesday, June 13, 2012

Pork Chops with Beer and Bacon Gravy

We were all looking forward to enjoying some grilled, thick, center cut pork chops.  I could already smell them sizzling on the grill.  As luck would have it, the wind picked up, the skies grew dark and a summer downpour ensued.

Yes, we were disappointed but not to be outdone by the weather, I went through my big stack of recipes that I had been promising myself to try and found this one from Rachel Ray.

This is a must try!  The amber ale really deepens the flavor of the gravy and compliments the pork chops unbelievably well.

4 bone-in pork chops, about 3/4-inch thick
Kosher salt
Freshly ground black pepper
1 tablespoon extra-virgin olive oil
4 slices hickory smoked bacon, cut in 1/2-inch slices
1 medium onion, rough chopped
1 heaping tablespoon all-purpose flour
1 bottle German amber ale or beer
1/2 cup chicken broth
2 tablespoons flat leaf parsley, chopped

Re-heat the oven to 350 degrees F.

Pat the pork chops dry with a paper towel and generously season both sides with salt and pepper.

Heat a cast iron or heavy skillet with the extra-virgin olive oil over medium-high heat. When the oil begins to ripple, carefully place the chops in the skillet (depending on the size of your skillet, you may have to do this in batches) and cook about 6 minutes per side, turning once.  Remove to a rack over a baking sheet.  Once all of the pork chops are seared, place in the pre-heated oven for about 10 to 12 minutes, until thoroughly cooked.

Lower heat to medium and add a little drizzle of extra virgin olive oil to the same skillet then add the bacon and brown.  Once the bacon is almost cooked, add the onions and saute over medium heat until the onions are soft, about 5 to 7 minutes. Leaving the onions and bacon in the skillet, sprinkle in the flour and stir for about 3 minutes to cook off and brown the flour a bit, then add the beer. Continue cooking until reduced by half, 1 to 2 minutes more, then whisk in the stock. Remove from the heat and season with pepper. Pour the gravy over the chops, sprinkle with parsley and serve immediately.


Can't wait to have my leftovers for lunch!


Pin It

Monday, June 11, 2012

Grilled Asian Eggplant


This has to be one of most simple and tasty vegetables to enjoy this summer.  We were looking for something a little different to do with eggplant on the grill besides the usual garlic and Parmesan that we all enjoy.  We were in the mood for something with an Asian flair and experimented and came up with scrumptious side dish.

2 cloves garlic, rough chopped
1/2 teaspoon Kosher salt plus more for seasoning
Freshly ground black pepper
2 tablespoons rice vinegar
2 tablespoons Tamari or regular soy sauce
1 tablespoon dark sesame oil
1/4 teaspoon red pepper flakes
1 eggplant
Canola oil
2 tablespoons finely chopped flat-leaf parsley


Sprinkle the Kosher salt over the chopped garlic and using the side of a chef knife, make a paste with garlic by smashing the garlic and pressing the side of the knife over the garlic.  Place the garlic past in a small bowl.

Whisk into the garlic paste, the vinegar, Tamari and sesame oil.  Place the red pepper flakes in the palm of your hand and press them with the thumb of your other hand to release the oils. Whisk into the garlic/Tamari liquid. Set aside.
Heat grill to high. Spray grates with non-stick cooking spray.

Peel the eggplant and cut into 1-inch wide by 1/2-inch thick strips.  Season the eggplant with salt and pepper, then brush with the garlic/Tamari mixture. Place the eggplant strips on the grill just until slightly charred.  Turn and brush with mixture. 

Once both sides are slightly charred, place on a serving platter and garnish with chopped parsley.  Serve immediately.

Pin It

Friday, June 8, 2012

McCormick Grill Mates Grillerhood Giveaway Winner!


Congratulations to Debbie from Mocha Me who is the winner of the McCormick Grill mates Giveaway!


She will receive this smokin' hot Grill Mates grill pack from McCormick's.

Thank all of you for entering and have a fantastic weekend!

Pin It

Thursday, June 7, 2012

S'mores Pie

It's summer vacation here at our homestead.  Vacation from what...I have no idea.  I guess it's a vacation from getting up at 7:35 AM, brushing your teeth, putting your hair in a ponytail and rolling out at 7:45 AM to be at school by 7:55 AM and taking "A" lunch so you don't "disss" your friends because you have "B" lunch and taking "B" lunch, well because you're scheduled for "B" lunch and then you're back home again by 3:00PM so you can nap until 4:45 PM and then bust you're butt to fold clothes before your mean mother gets home from work.  Life is rough if you're a high schooler.  Do you feel me?

It's been pool parties and bonfires.  But somehow, these poor, children always have money to buy the ingredients make s'mores.  It warms my heart to know these college bound children will never starve because they have one really key recipe under their belt.  I mean even the guys are really snobby about their s'mores....be still my heart!

I knew I had seen S'mores pie recipes on blogs and I did a search and made a S'mores Pie that's a combination of the many recipes I found online.  Believe me kids, this is a sinful decadent piece of work!

Graham Cracker Crust

1 1/2 cups graham cracker crumbs
6 tablespoons butter, melted
3 tablespoons powdered sugar

Chocolate Filling

2 tablespoons butter
1 1/3 cups semisweet chocolate chips or chopped Baker's chocolate
1 teaspoon vanilla extract
2/3 cup granulated sugar
3 tablespoon cornstarch
2 tablespoon unsweetened cocoa powder
1/8 teaspoon salt
3 large egg yolks
1 cup heavy cream, divided
2 cups milk

Marshmallow Topping

1 7-ounce jar Kraft Jet-Puffed Marshmallow Creme
3 large egg whites
1/8 teaspoon salt
1/4 cup sugar

Crust:

Combine all ingredients and press halfway up the sides and on bottom of 9-inch pie pan with your fingers. 

Chocolate Filling:

Place chocolate chips or chopped chocolate, butter, and vanilla extract in a medium size mixing bowl; set aside. In a medium saucepan away from heat, whisk together the sugar, cornstarch, cocoa and salt. Whisk in 1/4 cup of cold heavy cream until the mixture is smooth, with no lumps. Repeat with another 1/4 cup of the cream. Whisk in the egg yolks. Place the saucepan over medium heat, and gradually whisk in the remaining cream and milk. Bring to a boil, whisking constantly as the mixture thickens; boil for 1 minute. Remove the pan from the heat and pour the mixture over the reserved chocolate and butter. Whisk until the chocolate is melted and the mixture is smooth. Place plastic wrap or buttered parchment paper on the surface to prevent a skin from forming, and chill thoroughly.

Meringue Topping:

Preheat oven to 400°F.


Scrape marshmallow creme into large bowl. In another large bowl, beat egg whites and salt until foamy with an electric mixer. Slowly add sugar, and beat until stiff and glossy peaks form. Fold egg whites into the marshmallow creme, stirring just until incorporated. Spread meringue over top of chocolate filling, mounding slightly in center and swirling with knife to create peaks.

Bake pie just until peaks and ridges of marshmallow meringue are lightly browned, about 5 minutes. Let stand at room temperature until meringue is cool.

Go forth and enjoy your summer!


Tuesday, June 5, 2012

Smoky Mountain Wings and a Giveaway!!!

I am so pumped to share with you my partnership with McCormick Grill Mates and have joined the “Grillerhood”!  You know how much I love to grill year around soooooo I’m going to share with you my adventures trying and enjoying some of McCormick Grill Mates seasonings.  Stop by and visit the Grillerhood.  You'll find it's a great online community whether you're a seasoned grill master or just starting out and learning.  You can pick up grilling tips, ask questions or just meet up with others who share a passion for grilling.  I was really wow-ed by how many people love to grill and how helpful the community is.

image

This was my first weapon of choice but instead of using it as a marinade, I decided to try it as a brine instead.


Whisk together the contents of the envelope into 2 cups of water.


Place the chicken drummettes in a re-sealable plastic bag and pour the brine over the chicken.


Seal the plastic bag and refrigerate for at least 2 hours.


When you're ready to grill, pat the drummettes dry with paper towels.  I'm not going to lie, these babies were smelling so good already!


While I was standing around busy blogging and waiting for the chicken to brine I started checking out this, McCormick Grill Mates, Steakhouse Onion Burger with Garlic seasoning.  It was love at first whiff!


I just had to season the drummettes with the Steakhouse Onion Burger with Garlic seasoning! 


Neighbors began to appear out of nowhere!  No basting required.  The brine kept the drummettes super-moist, even over direct heat.  Layering this McCormick Grill Mates flavor combination really made for some seriously robust drummettes.


Hey!  Leave some for me!  Guess what?  No one asked for or needed any kind of dipping sauce.


Disclosure - I have been compensated by McCormick in all relevant communication mediums, including without limitations on Facebook, Twitter, any blog posts.


But wait, don't leave yet!  Raise your hand if you want to try out the amazing flavors of McCormick Grill Mates.

  1. Check out this way cook tailgating pack.  You get this Grill Mates apron McCormick Grill Mates, Seasonings, rubs grill tools, a recipe book, grill mitt and chef's hat.


The Grill Mates grilling apron and tools, fold up into this handy carrying pouch so you can take it with you anywhere.

All you have to do to enter is either leave a comment on your favorite McCormick Grill Mates seasoning or you can tweet about the giveaway and use the hashtag #Grillmateson.

Random drawing will be Friday, June 8th at 10:00 EST.


Pin It

Monday, June 4, 2012

Grilled Potato Gratin

Yes, boys and girls, your eyes aren't playing tricks on you, it really does say "Grilled" Potatoes Gratin.

You know me, I'm either going to "Parmesan" or "Grill" it.  This is so easy and if you use Yukon Gold potatoes, the skin is so thin, you won't even have to peel them! 

What's not to like, right?

Kosher salt and freshly ground pepper to taste 
4 to 5 medium size Yukon Gold potatoes, cleaned and thinly sliced into rounds
2 garlic cloves
1 stick butter, cut into tablespoons size pats 
1 tablespoon chopped Italian parsley
1 teaspoon chopped fresh thyme

Bring a large pot of of salted water to a boil and add the potato slices.  Boil about 8 minutes to soften them up but not to completely cook them. Drain and slightly cool the potatoes.

Prepare a charcoal or gas grill for indirect grilling over medium-high heat.

While the potatoes are boiling, smash the garlic cloves using the side of a chef's knife and liberally sprinkle the smashed garlic cloves with the Kosher salt. Continue smashing and scraping the garlic until it turns into a paste.

Heat a 1 quart saucepan over medium heat, add the butter and melt. Stir in the garlic paste, parsley and thyme, and season with salt and pepper.

Heat the grill to medium.

Spray a slotted grill pan with non-stick cooking spray. Place the potato in the pan in concentric circles and cover the bottom of the pan.  Gently brush the potatoes withe some of the garlic butter.  If you have more potatoes, make another layer in concentric circles over the first layer of potatoes and brush the second layer with the garlic butter mixture.

Place the grill pan in the center of the grill and close the cover.   Move the grill pan to the other side of the grill and continue grilling over indirect heat, basting the potatoes with garlic butter about every 10 minutes, until browned and tender, about 30 to 35 minutes.

Now tell me, who's your hero?


Pin It